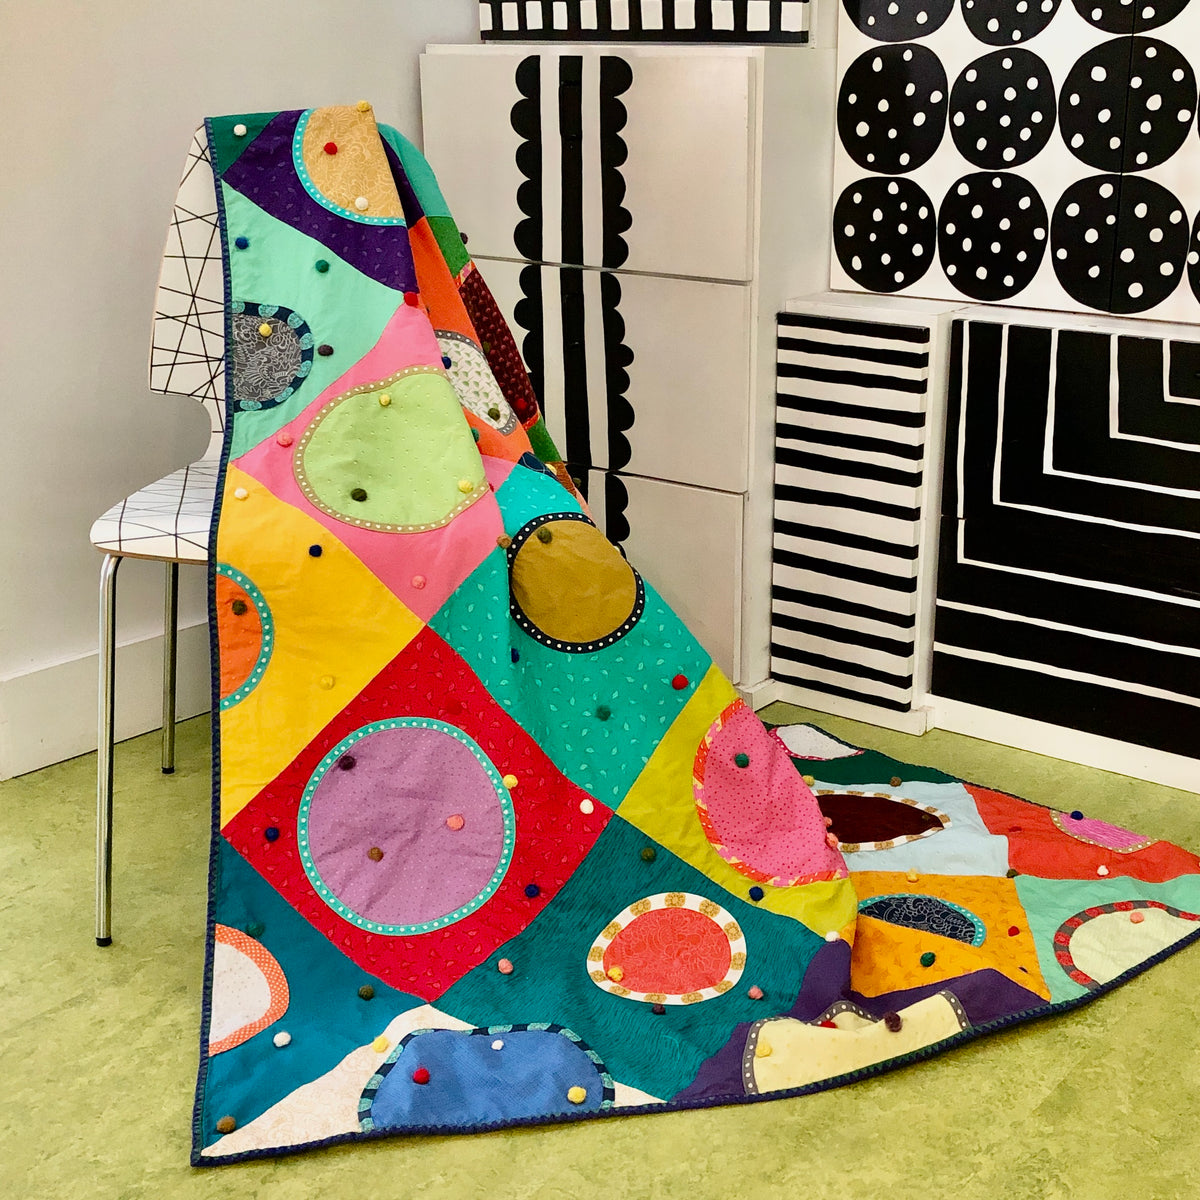
Polka Dot Parade Quilt
Heather Valentine from The Sewing Loft has a new fabric collection from Windham called Color Club. When she put a call out for projects, I jumped on it.
Enter my Button Parade Quilt variation….the Polka Dot Parade Quilt! It’s a parade! Who doesn’t love a fabulous and fun parade?! This quilt is so much fun to make, a great way to practice bias tape appliqué, AND simpler and quicker than making the original Button Parade. No appliquéing tons of little circles to make the button “holes”! Color Club plays well with Windham’s Ruby and Bee solids and Artisan Cotton, as well as with my Hothouse and Sew Good collections, and it was super fun to mix and match all of these collections!

Polka Dot Parade Quilt
Here’s what changes I made to the Button Parade pattern:
(I made the throw size which is 55” x 73”.)
Materials:
- For the background fabric I used a different fabric for each block, instead of a single fabric. So, instead of 4 yards for the background, I used 17 different 13 ½” x 13 ½” squares and 4 different 19 ¾” x 19 ¾” squares. The smaller squares can be made using fat quarters, or ½ yard cuts. You can get 1 square from each fat quarter, or 2-3 squares from the ½ yard cuts depending on the exact width of your fabric. The larger squares need ⅝ yard cuts. You can get 2 of the larger squares from each.
- For the bias tape appliqué, I used the Boundless Bias from Hothouse to get fussy cut bias, and also cut bias tape from other fabrics in the collection.

Sewing:
- The polka dots are randomly placed within each block instead of precisely centered.
- For one of the blocks I sewed 2 blocks together and then placed the polka dot so it could overlap the blocks. (Gasp!)

Finishing:
Tied quilts are so fun and it seemed like just the right finish for a polka dot theme quilt, especially nice big polka dot ties! Here is what I did:
- Tie the quilt with pearl cotton. Make the ties a bit looser than normal, leaving space underneath the knot.

- Using a doubled length of wool, such as Iroiro roving, make a knot around each tie.

- Wrap the wool around the tie until it covers the pearl cotton. You can use the eye end of the needle instead of the point to go under the tie.


- Bring the wool around the side of the wrapping and then through the wraps. Bring the wool around the other side of the wrapping and then through the wraps again.


- After binding the quilt, wash and dry the quilt to felt the wool balls.