Make Your Own Fussy Cut Binding for Quilts and Other Projects
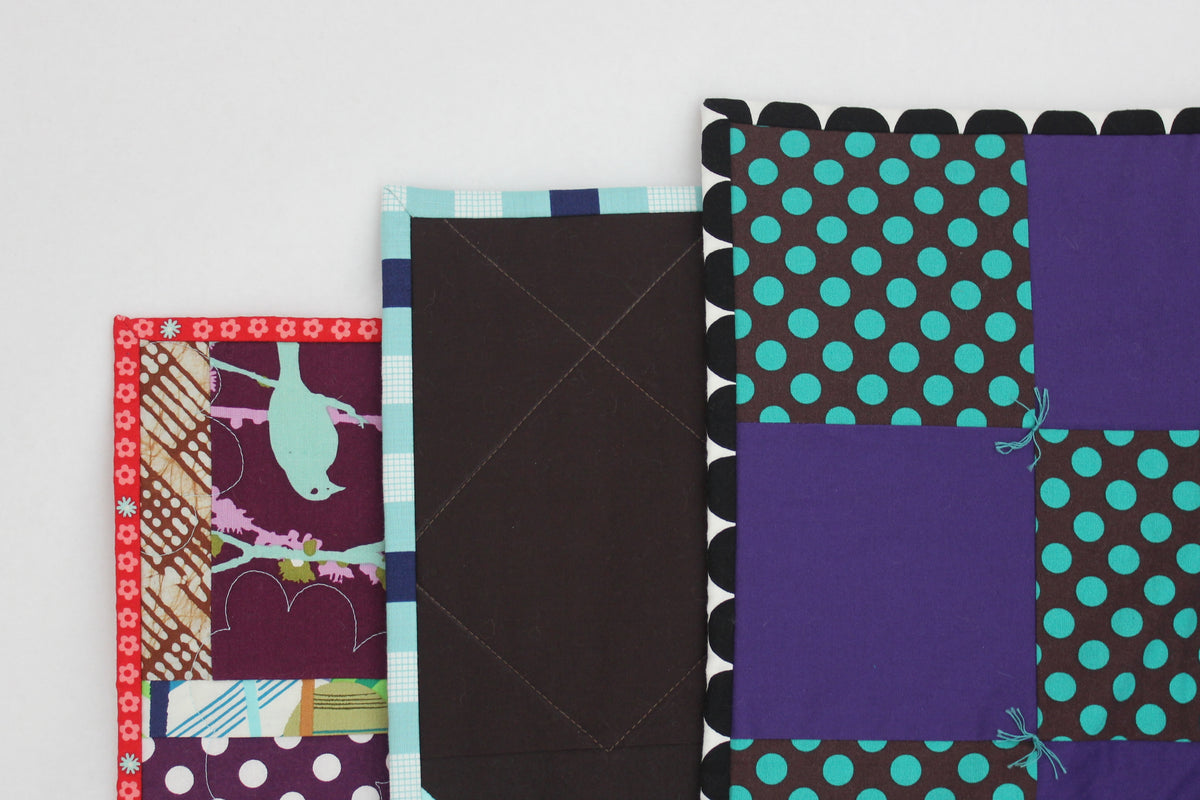
Let's talk binding! I happen to like binding. It makes everything so tidy and finished, and I like the quiet hand sewing time. Fussy cutting your binding adds a special detail to your quilt or any quilted project. Here are a few examples of quilts from my books, Sew Fun: 20 Projects for the Whole Family, and Quilt Giving: 19 Simple Quilt Patterns to Make and Give, that have fussy cut bindings:

Depending on your fabric, you may even have a binding that is different on the back than on the front:

First, let me tell you my basic binding rules:
- I always cut my quilt bindings on the straight grain, not the bias.
- I often piece my binding strips straight across, not at an angle. This is contrary to many binding instructions. The theory is that piecing binding strips at an angle reduces bulk. I feel that if you piece them straight across and press the seam open, the bulk is minimal and since the seam is shorter, it is less noticeable. Also, if you are fussy cutting your binding, it will be much easier to match the pattern.
- I usually cut my strips anywhere from 2" to 3" wide depending on the quilt and the binding fabric.
- I fold my binding strip in half lengthwise, wrong sides together, and press. Then I match the raw edges of the binding to the raw edge of the quilt and sew the binding to the quilt.
- I machine sew the binding on the front of the quilt and then hand sew it to the back. (Check out my blog post on making the hand sewing on your binding invisible!
So here we go!
1. First, choose your fabric. Look at color and print, but also the size of the print. The larger the scale of the print, the less will show on the binding, but also the more options you will have to use different parts of the print. Here are some fabrics that would work nicely as fussy cut bindings:


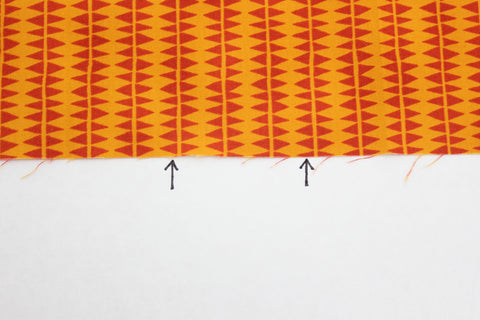
You can see that all of these fabrics have prints that are arranged linearly as stripes or in a grid. There is a wide variety of prints but the layout in each is similar. However, even the fabrics with a stripe arrangement are not just regular, straight stripes such as these:

If you do have a regular stripe, there is really no need to fussy cut. Just cut your binding strips perpendicular to the stripes and you get a lovely binding like this:

Place two pieces of paper on top of your fabric to see what section of the fabric you want as your binding. Some fabrics will have just one obvious option, while other fabrics may have a number of possibilities. Here are some examples:


2. How much fabric do you need? You may need more fabric than usual for a fussy cut binding. Check your fabric to see how often the section you want to use repeats. Let's look at this fabric:

Here, if you wanted to use the navy rows with dark gray to the right, you can see that they are far away from each other. 12" away! That means you can only cut a binding strip every 12" and will need to save all the fabric in between for something else. If you are binding a quilt that is 60" x 80", you will need 1 3/4 yards, or even a bit more depending on how the fabric is cut at the store. But if you use this fabric below, then you only need 1/2 yard since the binding strips can be cut closer together:
3. Now, figure out how to cut the fabric. Let's look at the anatomy of a binding to make sure your selected design will fall in the right place. Here is a cross section of a binding on a quilt and a flattened out binding:

You can see how the binding has six sections.The most important section is the front. To figure out how wide to cut your strips, measure the section of fabric between the paper you used in Step 1 when choosing your fabric. For example, let's use that fabric with the navy row next to the dark gray row. The navy row is 3/8" wide. Take the measurement of the row or area you want to show on the front of the quilt and multiply it by 6. So in our example, we take 3/8" x 6 and end up with 2 1/4". But wait! What about the thickness of the quilt? A and D need to be narrower than the front, back, B, and C, which are wider to accommodate the thickness of the quilt. You don't want to make those parts wider because it will mess up your fussy cutting. So, make A and D about 1/8" narrower. I say about, because you always want to make a sample from the actual fabric to make sure the measurements work out with your particular fabric.
5. Now, make a template from paper. Compare your template to the fabric. The navy row will be on the front of the quilt and the dark gray row will be on the back, and the outer edges of the template will show you where you need to cut:

Next, make a sample from the actual fabric.

It is worth the extra few minutes to make a little sample be sure it will work out the way you want it. Sew your binding sample to your quilt with a long stitch so you can remove the stitches easily. You will need to adjust your seam allowance depending on the width of your binding and to get your fussy cutting exactly where you want it:

You can see how the navy row will fall on the front of the quilt and the dark gray row will wrap around to the back of the quilt.
6. You are ready to make your binding! When fussy cutting a binding, just as fussy cutting anything else, always cut just one layer of fabric at a time. Try as you might to line up and cut multiple layers of fabric, it just will never work out. Now, check out my blog post on making the hand sewing on your binding invisible!