Sew a Softie - Storytime Softies
Hey there! Welcome to Sew a Softie 2021! Sew a Softie is a tutorial hop organised by Trixi @sewasoftie. Sew a Softie is an initiative to inspire kids and adults all over the world to learn to sew. Please join in and tag #sewasoftie @sewasoftie to be in the running for some fun prizes.
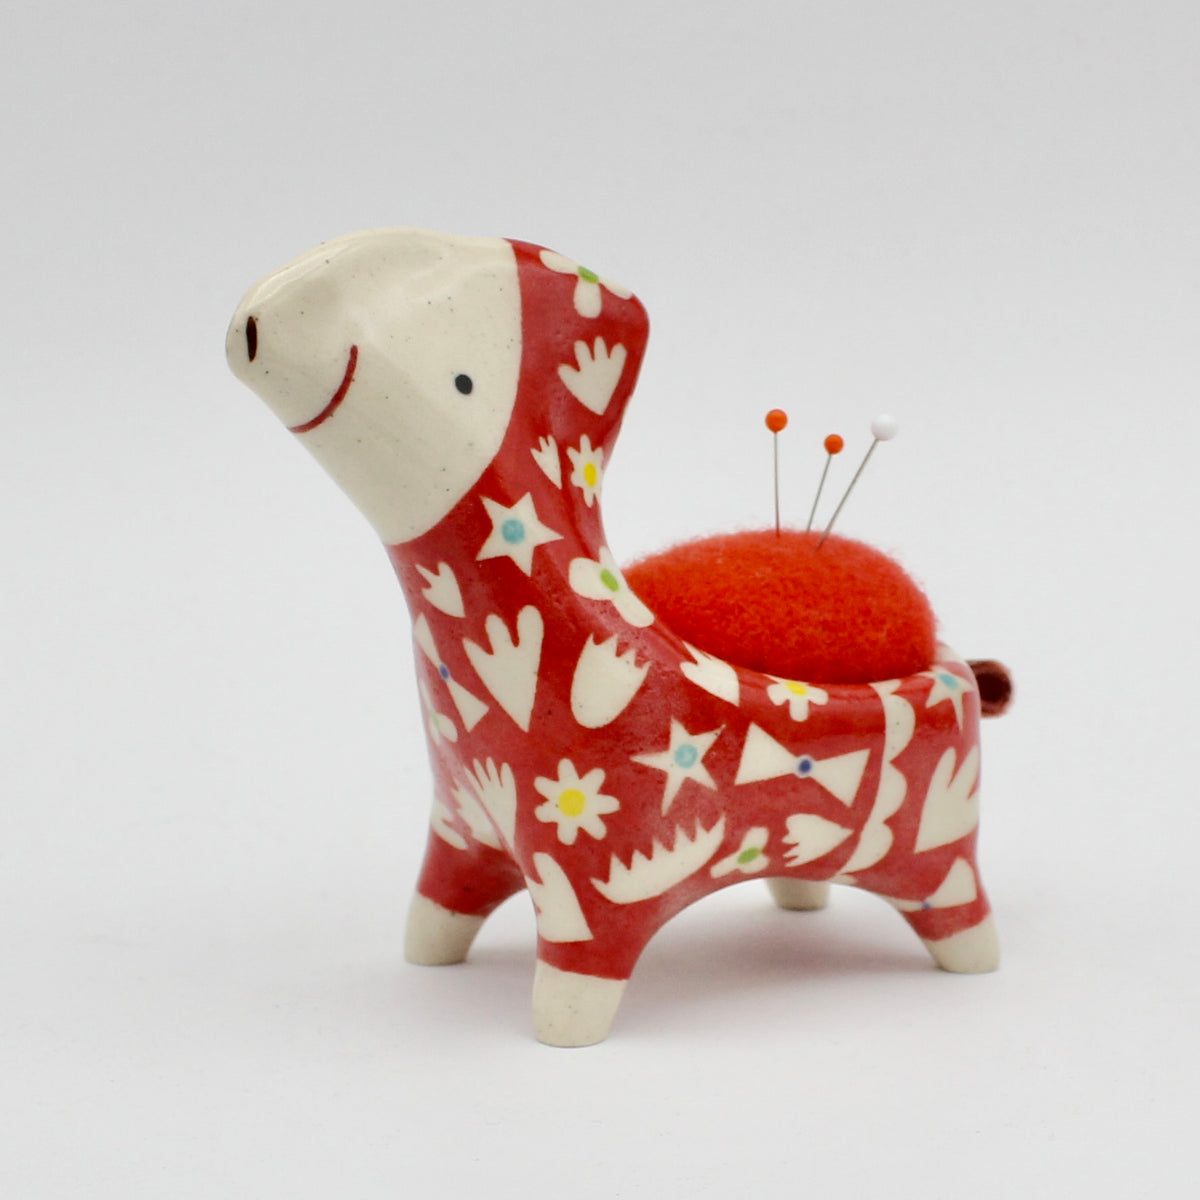
So let’s get to it! My first fabric collection, Sew Good, with Windham Fabrics is launching and I was excited to bring some of that fabric into the softie world. Enter Storytime Softies! A whole pile of fussy cut, I spy, build your own story softies. My new fabric collection features pincushion people, so I started there and then added a variety of novelty prints. You can hand or machine sew and make as few or as many as you want! And...my favorite Sew a Softie model is back, now 13!
In quilting, fussy cutting is when you cut a specific part of a fabric based on the design printed on the fabric. For example, if you need 3” squares and you have a fabric with cats on it, you have several cutting options. You can just cut 3” strips and cut those into squares and the cats will fall willy nilly, OR you can cut the squares so that a cat falls in the center of each square. You can also do that for softies!

You Will Need:
• Novelty fabric/fabric with imagery
• Solid or printed fabric for the backs
• Fiber fill or some other fill. I used leftover quilt batting scraps
• Sewing machine and hand sewing tools OR just hand sewing tools
Note:
Instructions call for a 2 part backing with the opening for turning and stuffing the softie in the middle. I have used this method because the softies tend to have curved edges. The straight sided opening in a 2 part backing is easier and cleaner to sew up than having a curved opening on the outside seam of the softie. If you prefer a 1 part backing, go right ahead and cut 1 backing piece that is slightly larger than the front, and leave an opening when you sew them together.
What to do:
1. Cut the fabric around the image. Make sure you leave at least ¼” all around for the seam allowance, and don’t get too close to the image. Leave a generous margin in addition to the seam allowance and don’t cut any intricate or complicated shapes. Think blob!

2. Now cut the backing fabric. Measure the height and width of the front piece at the widest parts. When cutting the back, cut 2 pieces that are the height of the front plus a little bit X half the width of the front plus about ¾”. So for example, if your front piece is 4” x 3”, cut 2 back pieces, each around 4 ½”( height of the front plus a little bit) x 2 ¼” (half the 3” width of the front plus about ¾). These measurements do not have to be exact. You just want to make sure that once you piece the 2 back pieces together, the back will be at least as big as the front.

3. Place the 2 back haves together, right sides together and sew, using ¼” seam, down the height measurement. Leave about a 1” opening in the middle of the seam.

Press the seam open.


4. Place the front on top of the back, right sides together, making sure that the opening in the back seam is covered by the front. Sew the 2 pieces together, ¼” from the edge of the front.


5. Trim the back fabric even with the front and clip the curves carefully.


6. Turn the softie right sides out through the opening in the back. Stuff and the sew the opening closed.


Now make a bunch more so you can tell lots of stories!