Rainbow Quilt REDUX!
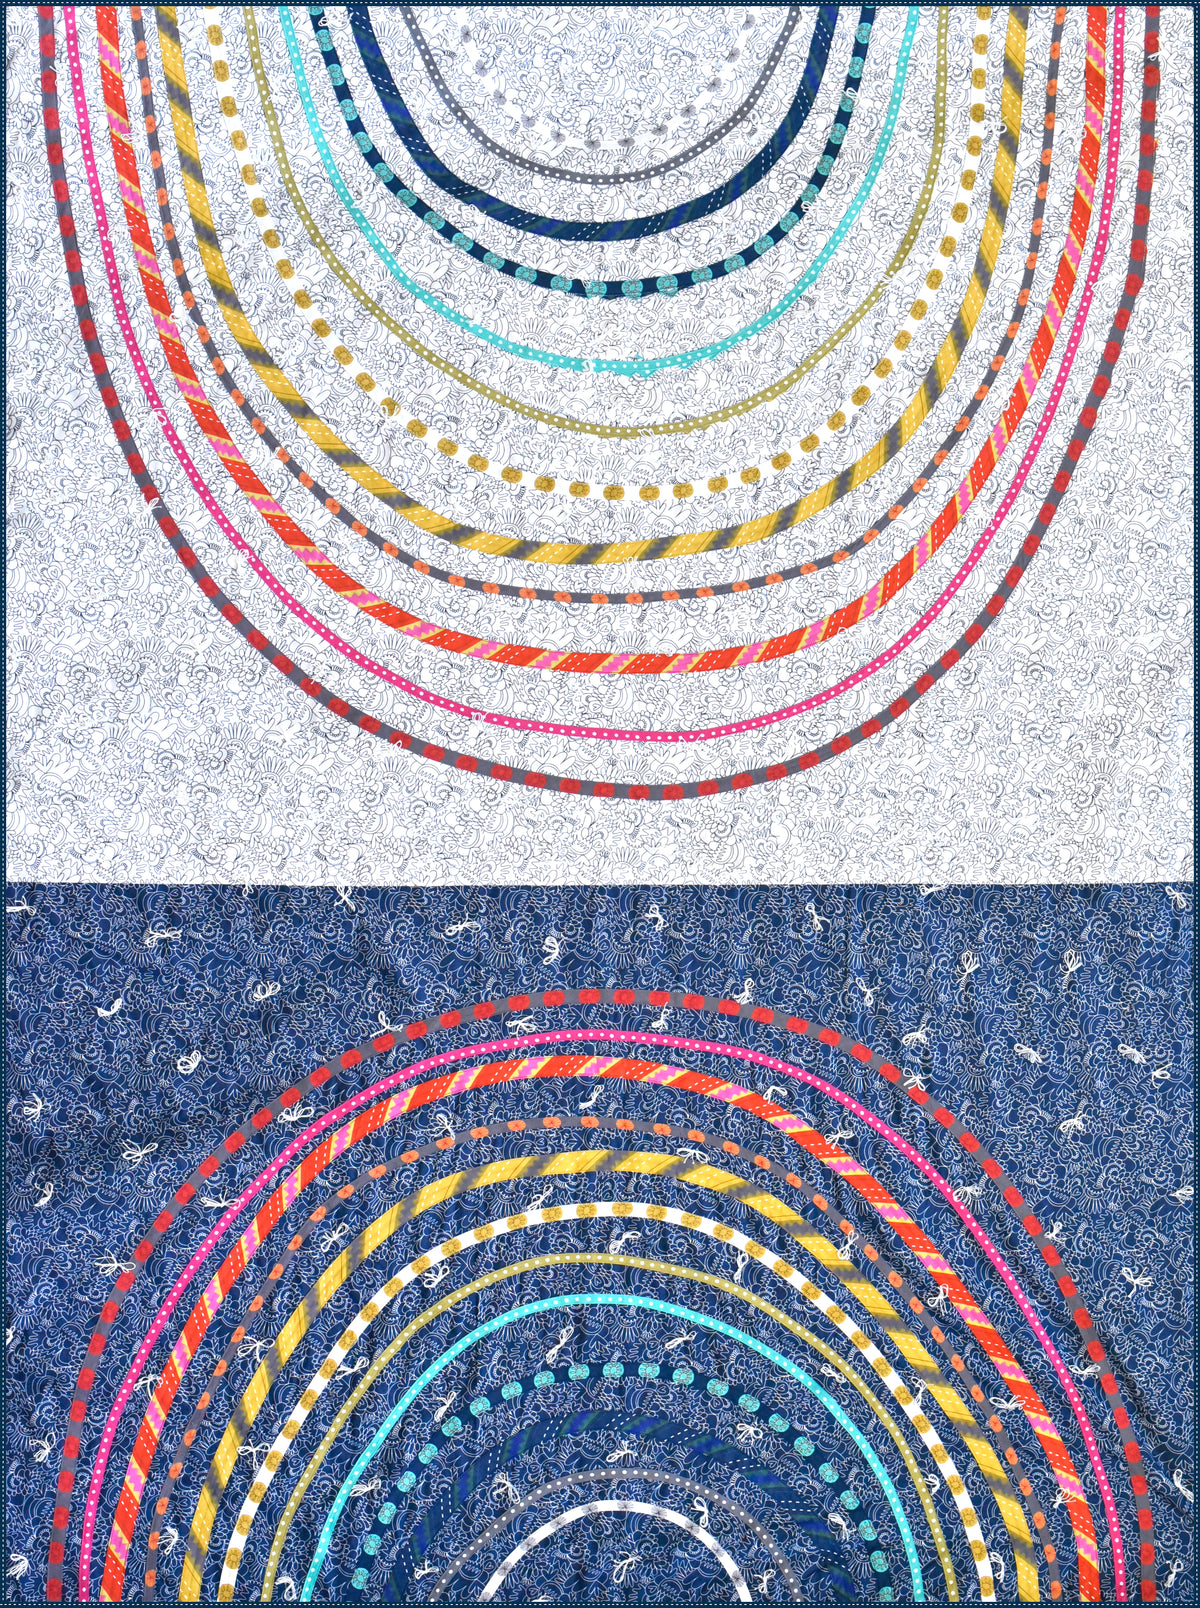
It’s a Rainbow Quilt REDUX! The first Rainbow Quilt was designed in 2018 as part of Sew a Softie month. I had made a cloud pillow project and knew that a rainbow quilt HAD to be made to go with the clouds. You can find the first Rainbow Quilt tutorial HERE. Now I have reimagined that quilt in the Hothouse fabric collection I designed for Windham Fabrics!

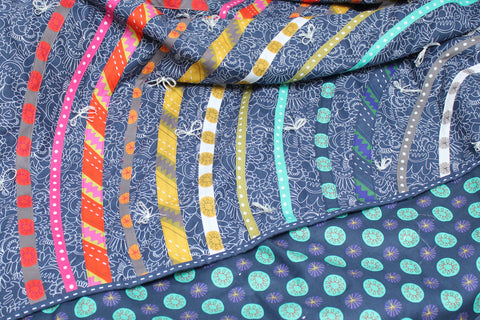
I knew this quilt would be perfect for the Boundless Bias fabric!

Boundless Bias is designed for making fussy cut bias tape and both rainbow quilts are all about bias tape appliqué! The Rainbow Quilt Redux is a great project for learning and perfecting your bias tape appliqué skills. Here is how to make it:
Rainbow Quilt Redux
Finished Size:60" x 80"
You Will Need:-
1 3/4 yards of Cold Frame in Snowy Day
-
1 3/4 yards of Cold Frame in Downpour
-
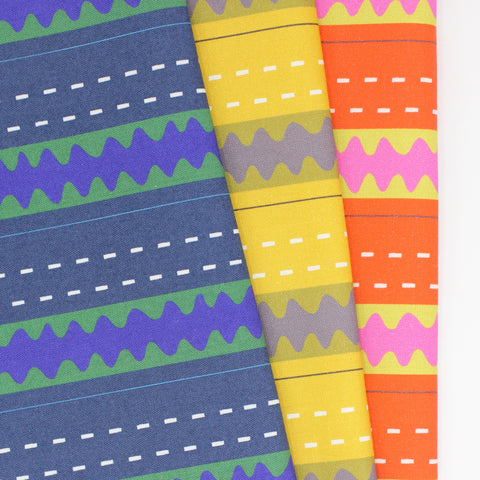
Bias tape! You can use purchased bias tape, or make your own. To make my bias tape I used:
-Boundless Bias in Zinnia, Downpour, and Rainy Day to make ½” bias tape.
-Seed Library in Rainy Day, Partly Cloudy, and Downpour to make ½” and ¾” bias tape.
-Boundless Binding in Partly Cloudy, Downpour, and Tomato to make 1” bias tape.
Here is where I made things a bit complicated to be able to get the rainbow order that I wanted:
For Boundless Bias in Zinnia, I made ½” bias tape using both the pink and the green stripes. For Downpour I used just the turquoise stripes. For Rainy Day I used just the dark gray. For Seed Library, I fussy cut it (on the bias) to get the colors I wanted. Red (¾”) and orange (½”) from Rainy Day, yellow (¾”) and gray (½”) from Partly Cloudy, and turquoise (¾”) from Downpour.
Confused? Don’t be! When it comes to rainbows, you do you. Make (or buy!) whatever bias tape you want, and put it in whatever order you want. I made 12 stripes on each side. You can have less, or more. Use as many colors as you want, or as few. For the outermost stripe, I used a combined total (for both the dark and light side) of 140” of bias tape. For the inner most stripe, I used 45” total. Use these as guidelines to make a variety of color and lengths of bias tape and play around with the order! Make it fun!

You will also need:
-
68" x 88" piece of batting
-
4 yards of Seed Library in Downpour for backing
-
1/2 yard Boundless Binding in Downpour for binding (For fussy cut binding, this will be cut on the length of fabric. You may want more yardage so you have less seams.)
-
Yarn for tying. I used perle cotton.
-
Coordinating thread
-
Bias tape makers. Here I used 1/2", 3/4" and 1" bias tape makers.
-
Edge stitch foot for your sewing machine (optional but really helpful)
See the original Rainbow Quilt Tutorial HERE for instructions. Note a few updates:
- For the Rainbow Redux, the background pieces are a bit bigger. Cut a 36½” x 60½” rectangle Cold Frame in Downpour. Cut a 60½” length from the Cold Frame in Snowy Day. Trim the selvage edges from each long side, keeping the sides parallel to each other. The final rectangle should be about 44½” wide.
- When sewing bias tape, sew the inside curve first, being careful not to stretch that edge. Then press the bias tape to gently stretch the outside edge. Sew the outside edge.
- If using Boundless Binding for the binding, cut length of fabric along the straight lines.