Sew a Softie - Luna and Sol Doll
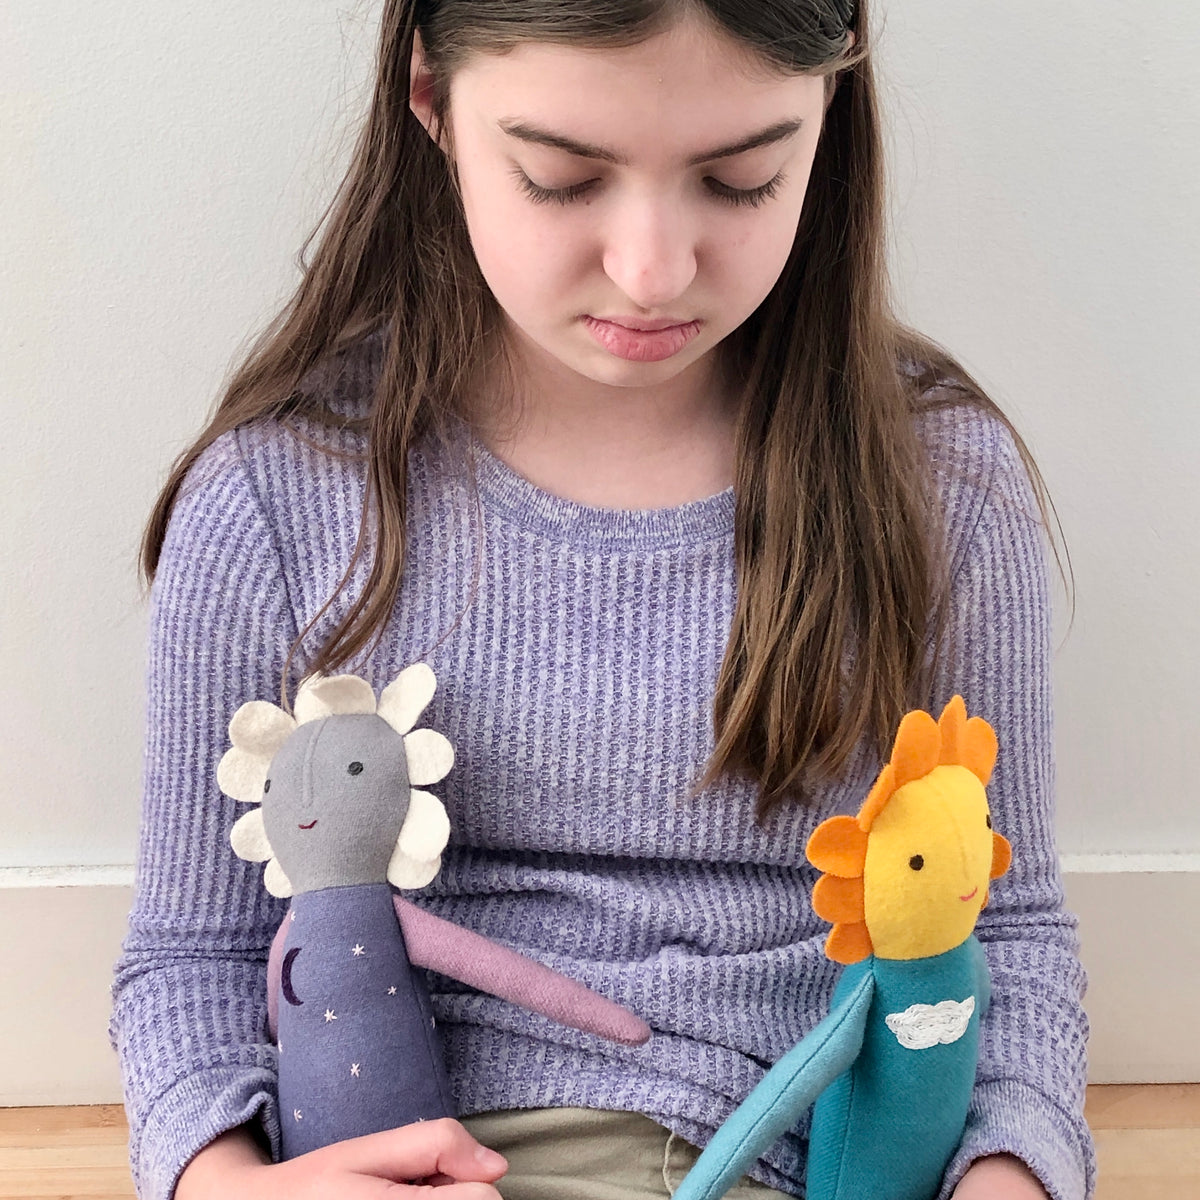
Welcome to Sew a Softie for the Festive Season! This year I have a sweet little doll named Luna, and her friend, Sol. Whaat? No giant softie? You may know that I love me some Claes Oldenberg. But I haven’t made any small dolls in a while and the living room is getting a bit overrun with giant stuffed things. I made Luna and Sol with lovely wool fabric, but you can use whatever you like. The hair is left as a single layer of fabric, so whatever fabric you use for the hair, make sure it doesn’t fray. I love that my favorite 12 year old is still happy to help with photos.

You will need:
Wool or other fabric for the body, head, arms, legs, and hair
1” x 3” scrap of cotton fabric such as muslin for the nose facing
Embroidery floss for the face and body details
Fiber Fill
Basic sewing tools
Tube turner (optional)
You can find the templates HERE.
Seam allowance is ¼” unless otherwise noted.

Here we go:
1. Using the templates that you can find HERE, cut:
2 body pieces
2 head pieces
4 legs
4 arms
10 hair scallops
2. Embroider the eyes and the mouth on the face. I used a stem stitch but you can use any stitch you like.
3. To make the trapunto nose, place the cotton scrap on the back of the head front, directly behind the nose. Stitch the outline of the nose on the front of the face. Thread a large eye needle with 6 strands of embroidery floss. Slide the needle into the channel at the top of the head between the nose and the nose facing. Bring the needle out of the nose facing at the end of the nose. Go back into the muslin and up through the nose channel, out the top of the head. Repeat until the nose is stuffed with the strands of floss. You can also just stitch the nose and eliminate the trapunto if you prefer.

4. For Luna, embroider the moon and stars on one (front) body piece. You can also embroider stars on the other (back) body piece if you like. For Sol, embroider the cloud. Again I use stem stitch, but you can use any stitch you like.

5. With right sides together, match the head pieces with the body pieces along the short straight edges. Sew the front head to the front body. When sewing the back head to the back body, just sew ½” in from each side, leaving the rest open for turning.
6. Match the arms and legs in pairs and sew around each arm and leg, leaving the short straight edge open. Clip the curves and trim the seams around the curved ends. Turn the arms and legs right sides out using a tube turner or a dowel. Stuff the arms and legs, leaving ½” unstuffed at the openings.

7. Matching the raw edges and straight sides, pin the hair scallops to the front head. Sew around the edge using a scant ¼” seam allowance.

8. Matching the raw edges and straight sides, pin the arms and legs to the body front. Sew the arms and legs to the body using a scant ¼” seam allowance.

9. With right sides together, pin the body/head back to the body/head front, keeping all appendages tucked inside. Sew completely around the head and body. You may need to shift around the arms and legs inside as you go.

10. Clip the curves and corners. Turn the doll right side out through the opening in the back seam between the head and body. Stuff the doll and sew the opening closed.