Strawberry Pins
Hi folks! Well, hi Kelly! And if anyone else is actually reading this, please let me know!
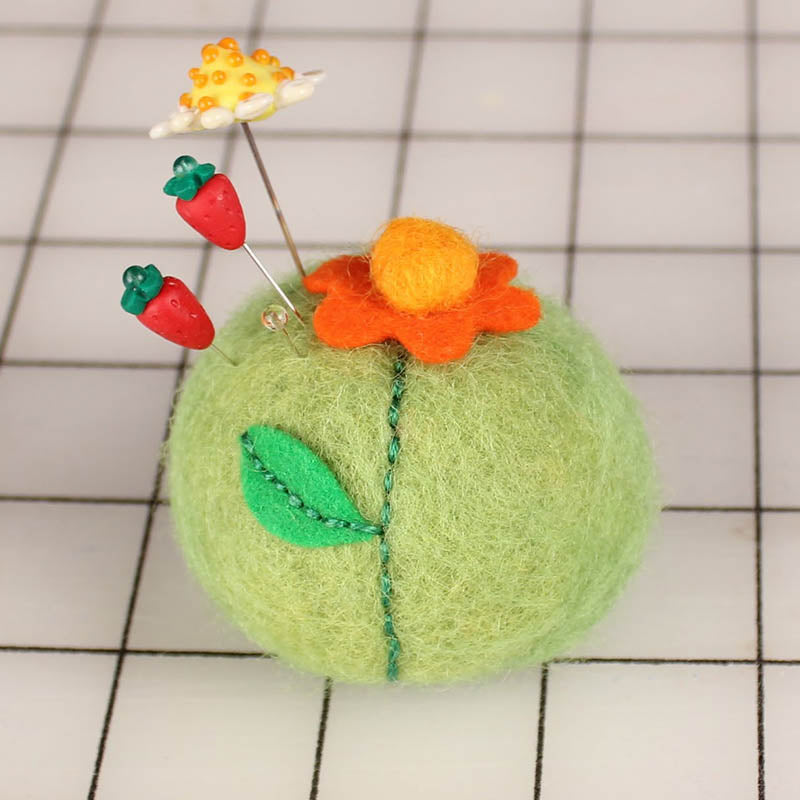
So, last week I mentioned the decorative strawberry pins I made to give out at Quilt Market. I made a whole bunch of them (along with other decorative pins), but you can make just a few. They are lovely as gifts for sewing friends, with or without a handmade pin cushion. This is also a great project with new young sewists. Check out the pin cushion made with felt balls on page 25 of Sew Fun:

My logo is a pincushion with pins so it seemed like the strawberry pins would be just right:

I ordered some business cards with one of the drawn pins missing, no printing on the back, and a dot where I wanted the pin to go into the card to make the hole punching more efficient. I glued a square of felt to the back of the card for the point of the pin. Next time I think I might just use a bit of washi tape.

I made my pins with polymer clay. This is a fabulous clay that is solid color throughout and bakes in a toaster oven or regular oven at a low temperature. It is available at most art and craft stores under the brands Sculpey and Fimo and is sold as little bricks:

It is great for making all kinds of small objects from beads to miniature animals. I loved to make miniature things for my dollhouse when I was little and now my daughters use it for animals and other odd stuff. If you plan to work with polymer clay more than just once in a while you might want to get yourself a separate toaster oven or a craft oven like this one which is also great for things like shrinky dinks:

I won’t comment on safety stuff but I will say that I do wash hands after using polymer clay and am sure to have things ventilated when it is baking.
To make a strawberry, first form a round ball of red. Then flatten it a bit on one side and make it a little pointed on the opposite side:

You can form the green top by hand, but I discovered my daughter, Hazelnut’s, clay press that I bought for her this summer. Using the 4 leaf clover-ish die I make a slice of green. This was very helpful because I was making 100 of these but if you only making a few just form some little leaves by hand:

For my decorative pins I used long glass headed pins. Insert the pin through the center of the green and then through the red. To make the seed indentations I used a very small crochet hook. Turned out to be just the right size and shape! I also used it to shape the leaves a bit more:

Bake as directed on the polymer clay package. A perfect little gift for a sewing friend or for yourself. Just because.