Woodland Sewing Accessories
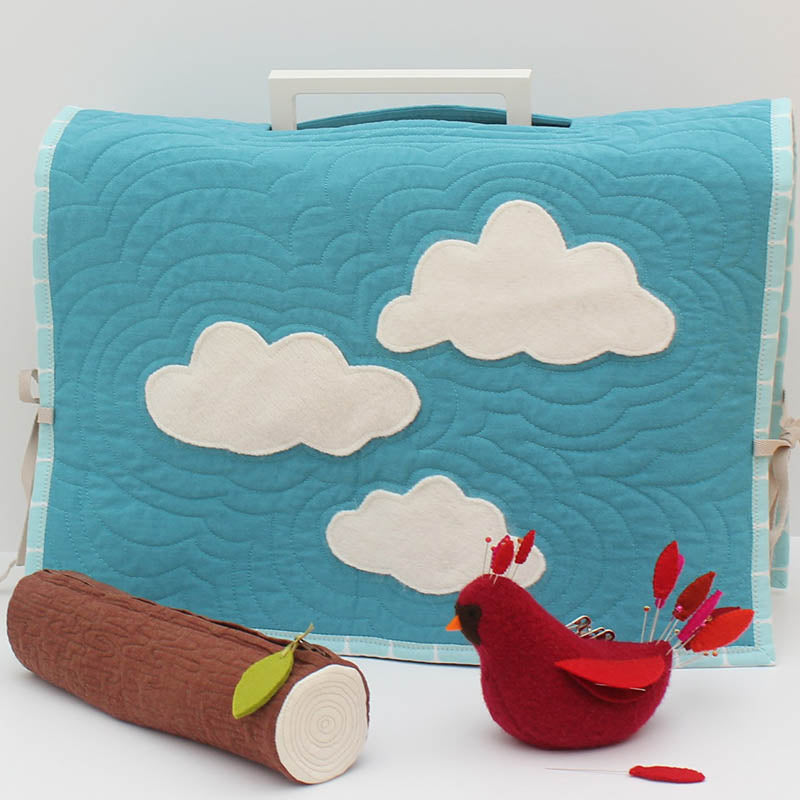
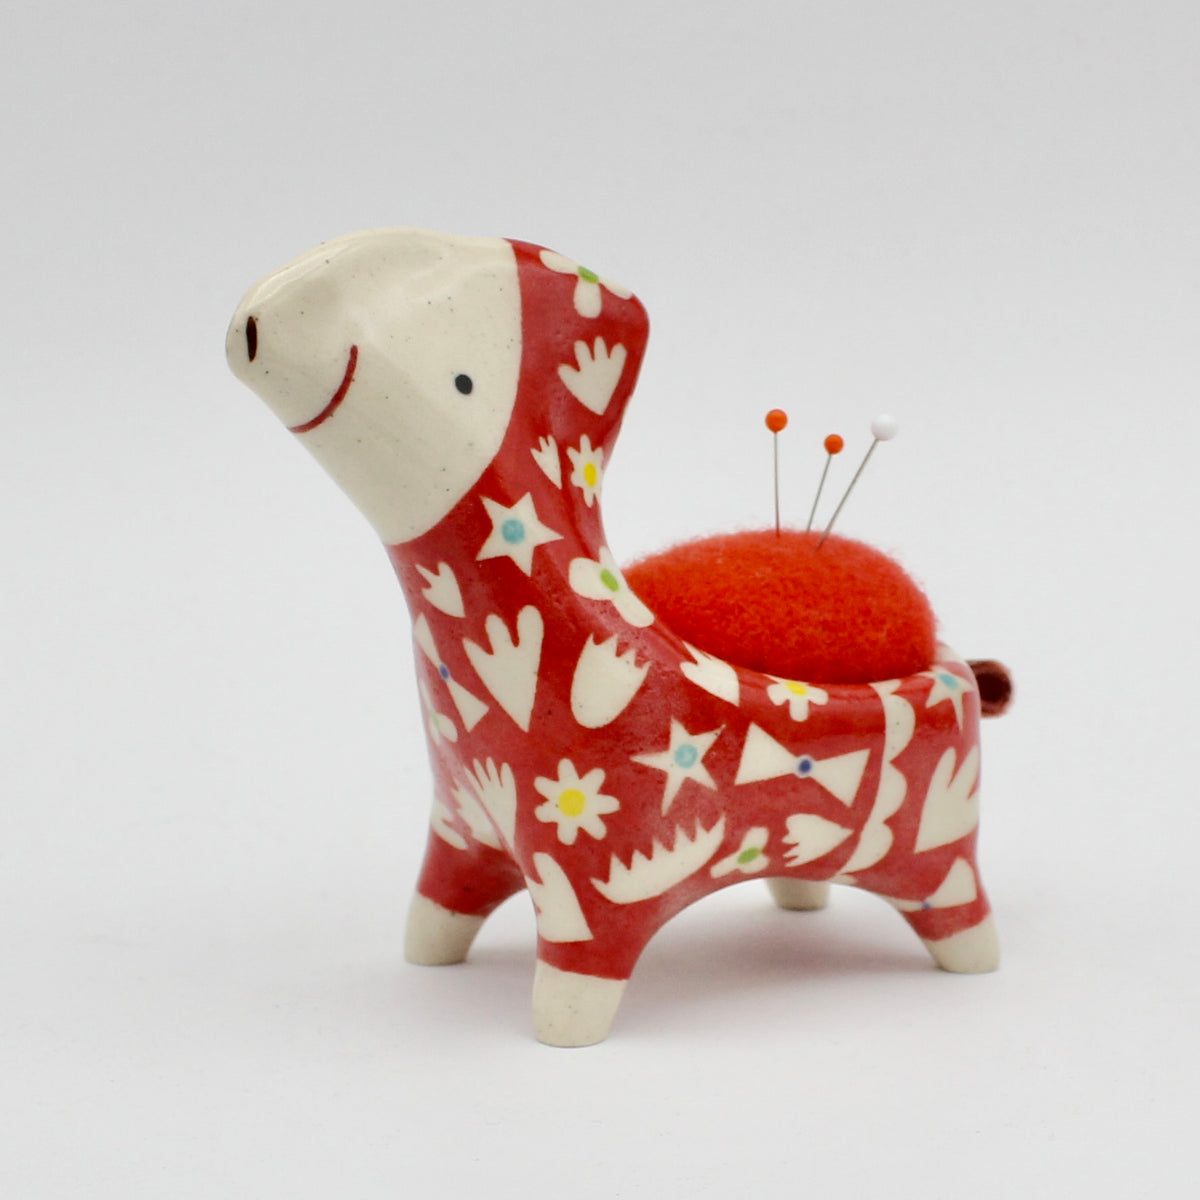
 Woodland Sewing Accessories are a charming gift for any sewist. The Cardinal Sewing Companion is a pincushion, needle book, and notion holder, and has felt feather accent pins. The lined Branch Accessory Pouch is quilted with bark, and has a whimsical leaf zipper pull. Instructions for these two projects can be found on page 100 in Modern Patchwork Gifts 2016, which has just been released. Complete the scene with the Blue Skies Sewing Machine Cover-instructions below!
Materials:
• Cover, blue fabric, 1/2 yard
• Cover Lining, blue print fabric, 1/2 yard
• Facing, blue fabric, 1/8 yard
• Clouds, white felt or felted wool, three- 4" x 7" pieces
• Binding, blue print fabric , 1/4 yard or 2 3/4 yards purchased extra wide double fold bias tape
• Batting, 18" x 28" piece
• Safety pins
• 3/8" wide ribbon, 1 1/2 yards
• Temporary marking tool, such as water or heat soluble marker
• Coordinating thread
• Basic sewing tools
Notes:
• Dimensions of the Sewing Machine Cover may need to be adjusted to fit your sewing machine.
• Seam allowances are 1/4" unless otherwise noted.
• Finished Size: 17" x 27" flat
Blue Skies Sewing Machine Cover:
1. Cut an 18" x 28" rectangle each from the fabric for the Cover and from the fabric for the Cover Lining. Cut a 4" x 10" piece from the Facing fabric. Make your own cloud pattern by drawing three different clouds, 5”, 6”, and 7” wide on paper. Cut three Clouds out of felt or felted wool, one from each of the three Cloud patterns. Cut three strips, 3" wide x WOF from the binding fabric.
2. Place the cover, right side up, vertically in front of you. Pin the clouds to the cover, making sure they are positioned towards the bottom end of the rectangle and that the top of the upper most cloud is no more than 10" from the bottom end of the rectangle. Use the photo as a guide. Top stitch around each cloud 1/8" from the edge, or use a zig zag stitch.
3. Lay out the lining fabric right side down. Place the batting on top. Place the cover right side up on top of the batting. Smooth all the layers and pin them together with safety pins about 4" apart.
4. Quilt the three layers together as desired, using free motion quilting, straight stitch quilting, or hand stitching.
5. Trim the cover to 17" x 27".
6. Mark the opening for the sewing machine handle on the lining side of the cover. You may need to adjust the measurements for your model of sewing machine. Measure 13" in from each short side of the cover and mark the lines. Then measure 5" in from each long side of the cover and mark the lines. The lines will intersect to create a narrow rectangle in the center. Cut the rectangle out of the center of the cover.
7. Stitch around the outside edges of the facing piece with a zig zag stitch, or make a small hem all the way around.
8. Turn the cover over, and, right sides together, place the facing on the front of the cover, centering it over the narrow cut out rectangle. Pin the facing to the cover, keeping the pins to the outer edge of the facing. Turn the cover back over to the lining side. Sew around the edges of the narrow rectangle opening. Cut the narrow rectangle out of the facing, following the cut edges on the cover. Clip the inner corners of the opening diagonally into the corners, being careful not to clip the stitching line.
9. Turn the facing to the inside of the cover so the wrong side of the facing is against the right side of the lining. Press the facing and stitching so the opening is smooth and corners are sharp. Sew three lines of top stitching around the opening at 1/4", 1/2", and 3/4" from the inner edge.
10. See photos:


11. Cut the ribbon into four-13" pieces. Pin the ribbons to the front of the cover, two on each of the long sides, 5" up from the short sides. Match one end of each ribbon to the raw edge of the cover so the rest of the ribbon lays inward. Sew the end of each ribbon to the cover, 1/8" from the edge of the cover.
12. Trim the selvedge edges from the short ends of the binding strips. Sew the short ends of the strips together, right sides together, to make one long strip. Fold the strip in half lengthwise, wrong sides together, and press.
13. Match the raw edges of the binding to the raw edge of the cover lining, starting in the center of one long side of the cover. Starting about 6" from the beginning of the binding, sew the binding to the cover using a 1/2" seam allowance. Be careful to catch in only the ends of the ribbons that are sewn to the cover.
14. To make the mitered corners, sew the binding to 1/2" from the adjacent side. Fold the strip of binding up at 45º angle to the corner. Then fold the binding back toward the adjacent side. Start sewing the next side 1/2" in from the corner.
15. Continue to sew the binding around the cover until you get 6" away from where you first started attaching the binding. Overlap the binding and trim the end of the binding 1/2" past the beginning of the binding. Open both ends of the binding and sew them together with right sides facing. Finger press the seam open and refold the binding. Sew the remaining binding to the cover.
16. Fold the binding around to the front of the cover. Pin the binding in place and sew the binding to the cover with a zig zag stitch.
 17. If using purchased bias tape, follow the instructions on the package.